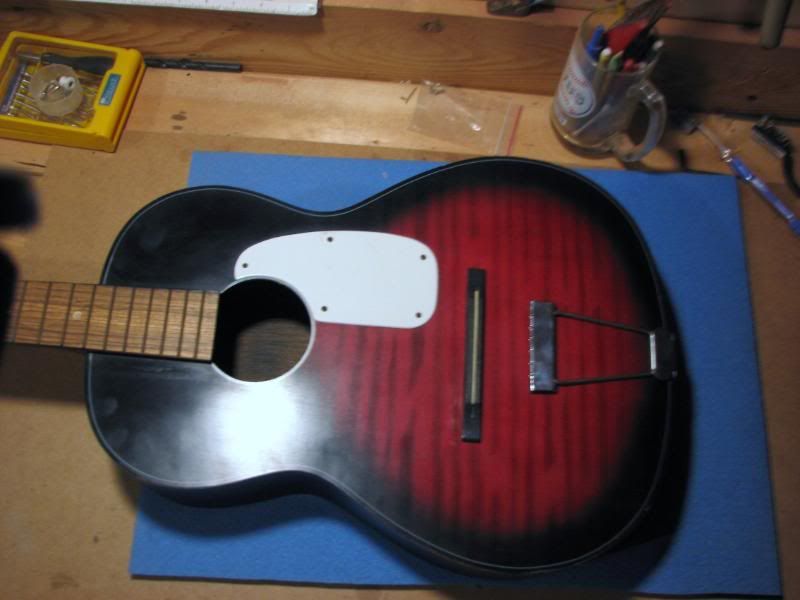
So here's a pic of the body after i took off the rusty old strings and gave it a quick wipe with some pledge:
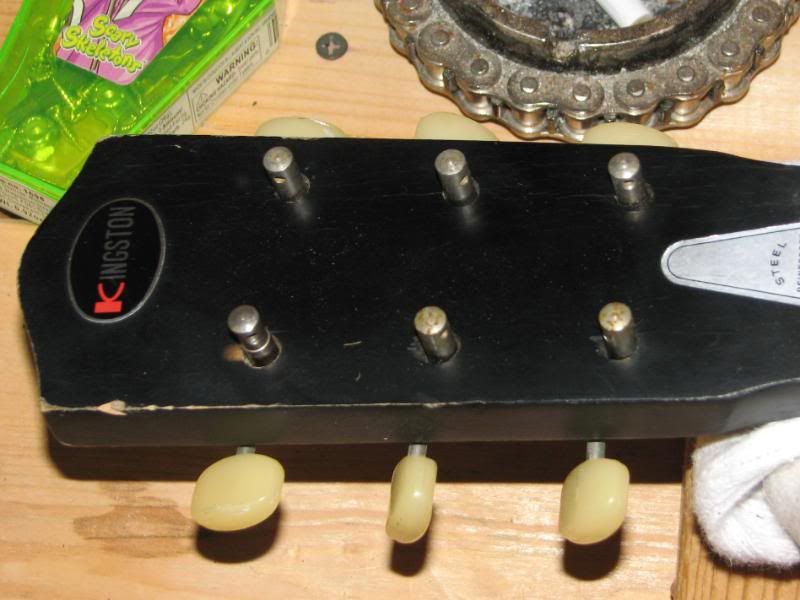
So the first thing I did was take off the tailpiece and tuners and take a wire brush to them to get off all the rust and grime. I tried to get a picture, but it just wasn't working out for me. They came out pretty well though.
There was one tuning post missing from the set. Luckily I have a box of mismatched half sets of tuners from other broken guitars I've bought in the past and found one that fit the set and put it on.
As far as cracks....There was a crack straight through the neck heel, and a split on the side that ran about 18 inches on the bass side.

I had read some stuff about harmonys on frets.com and decided to just pull the neck off and reset it. This was kinda a pain in the ass, but I'll need to learn it someday right?
So I laid down some potholders on the top and let an iron sit on the end of the fretboard for a little while to loosen up the glue, and pryed it up with a putty knife. I completely forgot to take pics of this part, kinda pissed now...
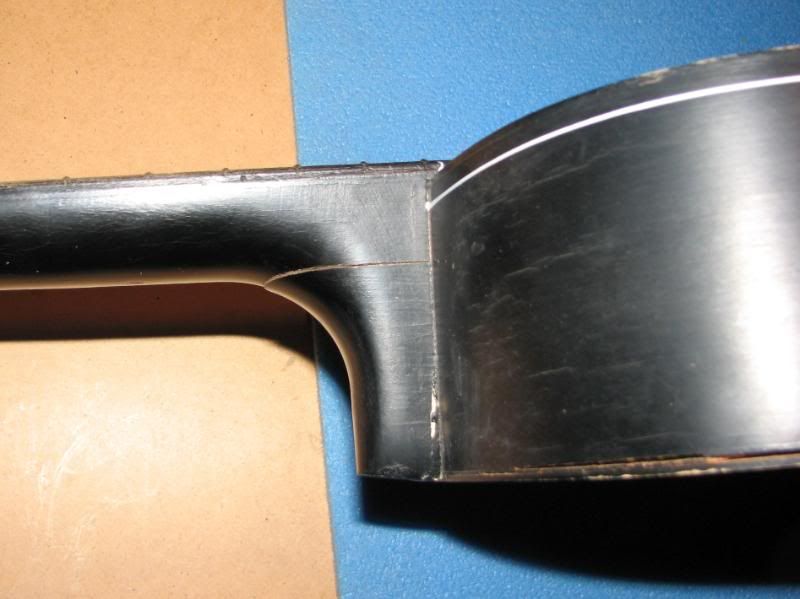
After that I used a modified wallpaper steamer to get into the neck joint and pop it out. Once I got it off, i pretty much glued the cracked piece of heel back on, then glued the neck back in right away. (note: this pic was taken before the glue was applied, I was making sure it fit back in place correctly before gluing it)
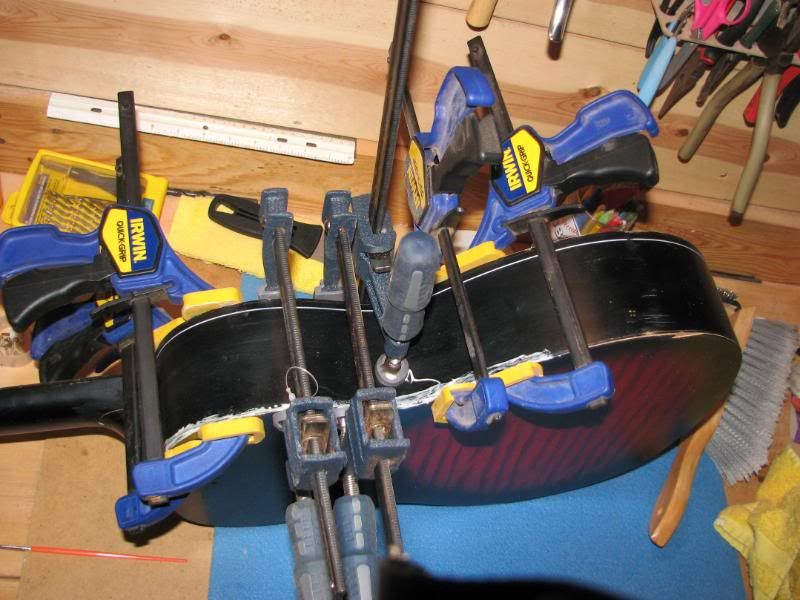
I let that sit overnight, and then went to work on that nasty side split.
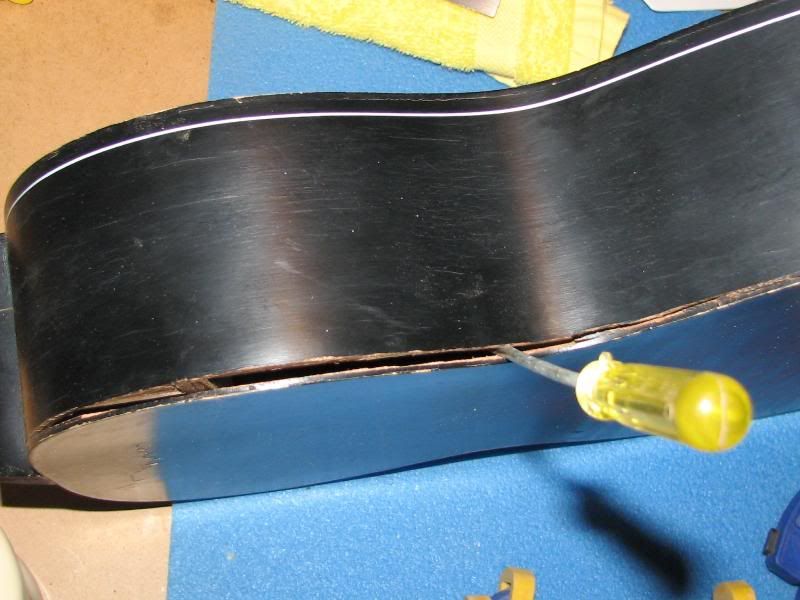
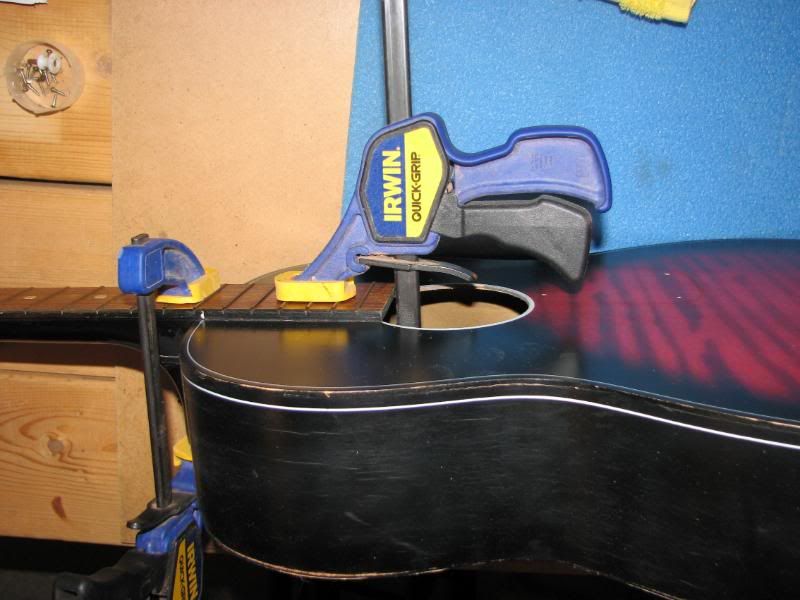
I stuck some screwdrivers in there so I had enough room to apply glue. Poured some titebond into a dixie cup, and brushed as much as I could cleanly get into the crack with small watercolor paintbrushes. After that, I pretty much used every ratchet clamp I have. (note to self...buy more clamps...)
So once that dried, I used an expired guitar center gift card to scrape away all the thin residue that had squeezed out of the crack while clamped. I then sanded the whole edge that was repaired going 220, 320, 400, 600, 1000. Did the same with the repaired neck area. To finish up and cover the areas that had been sanded, I dipped a sponge in some dark walnut wood stain and smeared it across the scratch marks until it was mostly gone. Put a lite spray of poly over it, and then i was done.
Last step was reattaching the hardware. I used some double sided photo tape to stick the bridge on. Its not sticky enough to damage the top, but sticky enough to keep it in place. One bad part was that one of the tailpiece screws had stripped out while removing it, so I just used heavier screws in the two remaining holes that should get the job done.
So here it is finished:
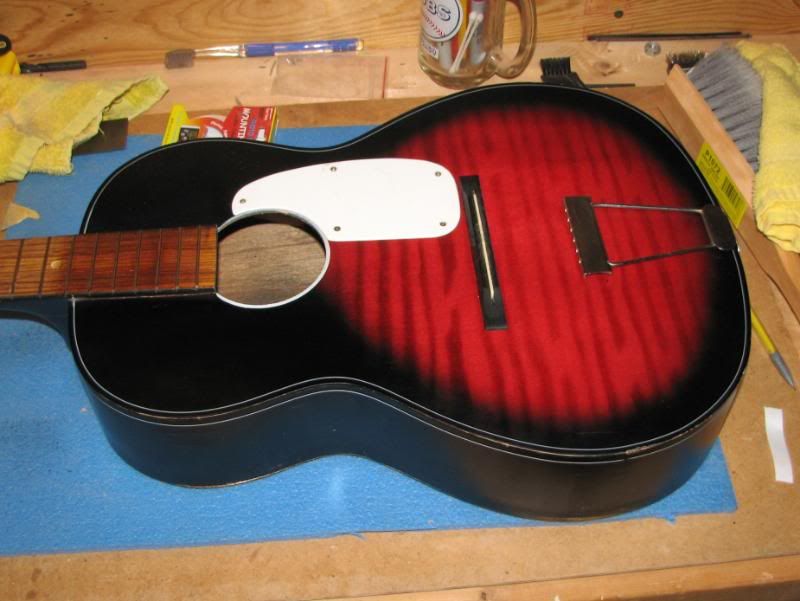
All in all, I don't think I did too bad of a job. The neck did kinda get stained from the iron, but hey, it was a five dollar guitar and I fixed it for free, so I don't think Lou will be too upset. I'm just happy I documented as much as I could since I forgot to do this with my washburn, which I steam bent a piece of mahogany to replace a 4x6" section of the side.